CourseK–G1 Food & Science
- What you'll find
- Your child builds models of science topics like the heart and cells, in English with native English-speaking instructors.

A design class where your child uses ideas from books to build objects and spaces, then tries them out
In MACS Design Kids, your child reads picture books and nonfiction, then plans and makes menus, models, structures like bridges, and logos. After trying out what they made, they explain why they chose its size and materials.
The class is for children in kindergarten and elementary school.
You don't need to worry about drawing skills. Projects are chosen based on your child's age and interests.
What your child learns and makes: Your child sets a menu and prices with nutrition and customers in mind, then builds a food truck and presents it.
What your child learns and makes: Your child explores the fears in a story, plans the route, lighting, and sound, and builds a model.
What your child learns and makes: Your child sorts animals by traits and habitat, builds an exhibit space, and explains it like a museum guide.
What your child learns and makes: Your child thinks through length, weight, and materials, builds a structure, and explains how it's used.
What your child learns and makes: Your child notices what bothers the people who use a product, picks a size and materials, and makes a bag or pencil case.
What your child learns and makes: Your child decides what to communicate and uses shapes and colors to make icons, stickers, and logos.
What your child learns and makes: Your child picks colors, light, and size to fit a mood, builds a model space, and explains why.
Question to think aboutWhich shapes and spaces are stable and easy to use?
Where it's used in designFloor plans, 3D structures, dividing up a space, and the paths people take through it
Question to think aboutWhat size fits the person who'll use it?
Where it's used in designLength and area, storage size, and scale (real size shrunk down)
Question to think aboutWhat can repetition and balance show?
Where it's used in designSurface patterns, decorations, and the layout of logos and pictures
Question to think aboutHow do we make it stand up and hold together?
Where it's used in designStructures that hold up bridges, buildings, furniture, and packaging
Question to think aboutWhich material suits the job?
Where it's used in designChoosing a material by comparing how bendable, clear, or hard it is
Question to think aboutWhat environments do living things and people need?
Where it's used in designAnimal habitats, exhibit spaces, and objects made with the environment in mind
At this step, your child: Reads picture books, nonfiction, and real examples, observes closely, and finds the key information.
At this step, your child: Looks at the characters' feelings and at what the people who'll use the design need, and gives reasons.
At this step, your child: Learns the concepts the project calls for, like shapes, measurement, ratio, and structure, through real examples.
At this step, your child: Writes a plan and draws a design: who it's for, what to make, and which materials and steps to use.
At this step, your child: Builds the product, space, or structure in small steps, at their own pace.
At this step, your child: Uses what they made and finds and fixes what's inconvenient for the person using it.
At this step, your child: Sums up the process and result in writing, drawings, and a presentation, and sharpens the explanation by answering questions.
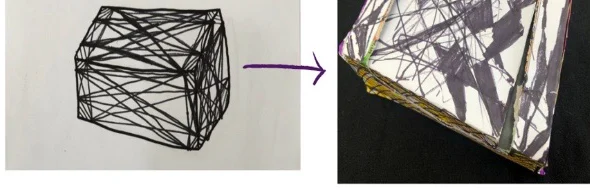
After reading the myth of Pandora, children put the feelings it stirred up into a paper snack box.
Children made a palette of colors for their feelings and wrote which feeling each color stands for.
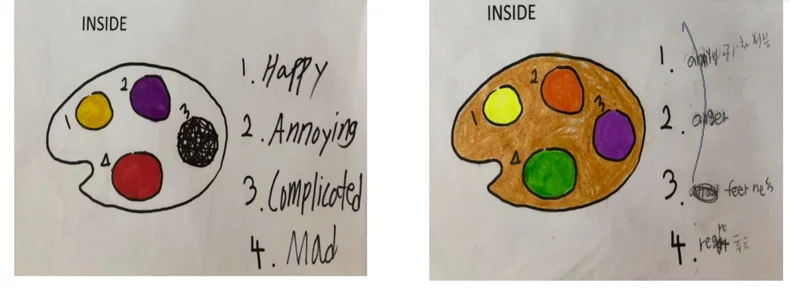
Children first drew designs for the inside and outside of the box, then decorated the box to match.
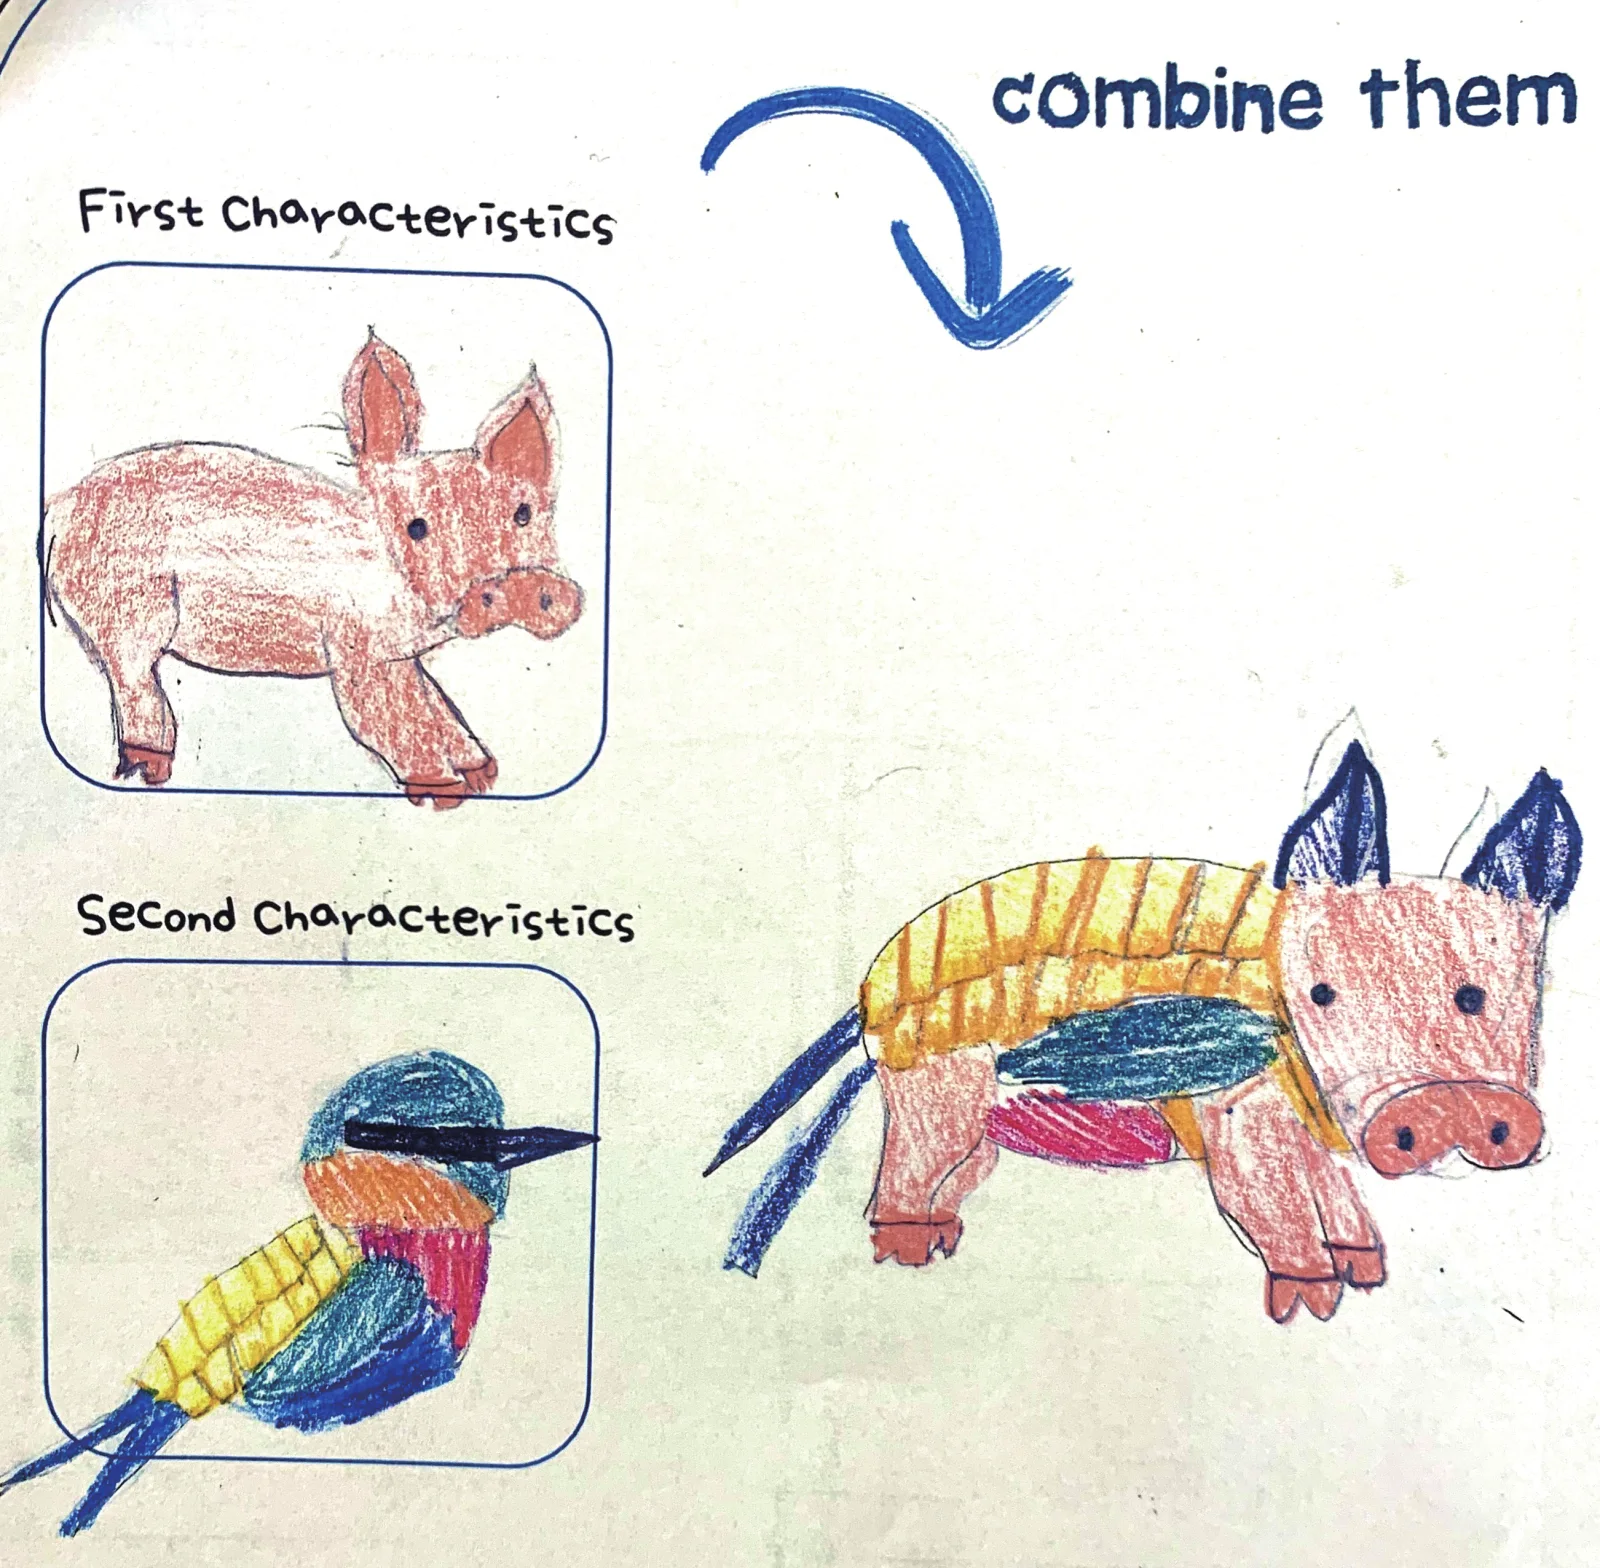
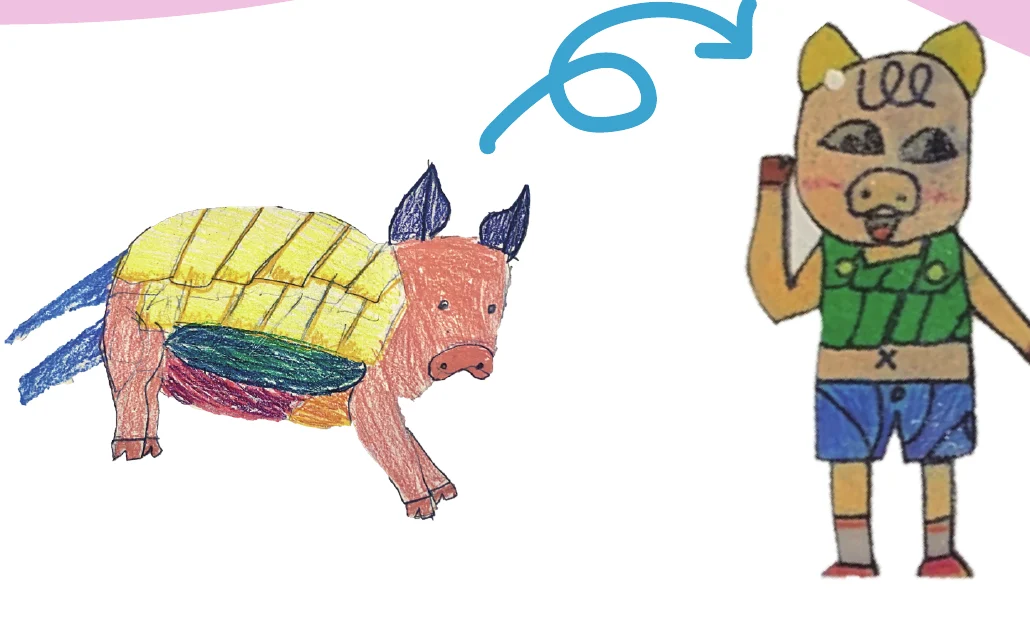
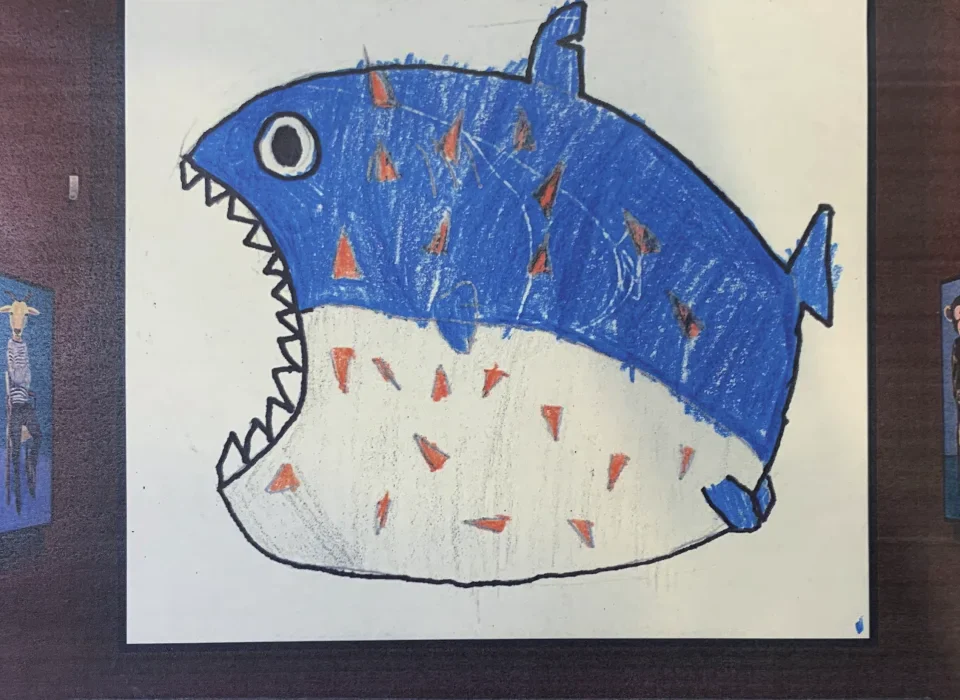
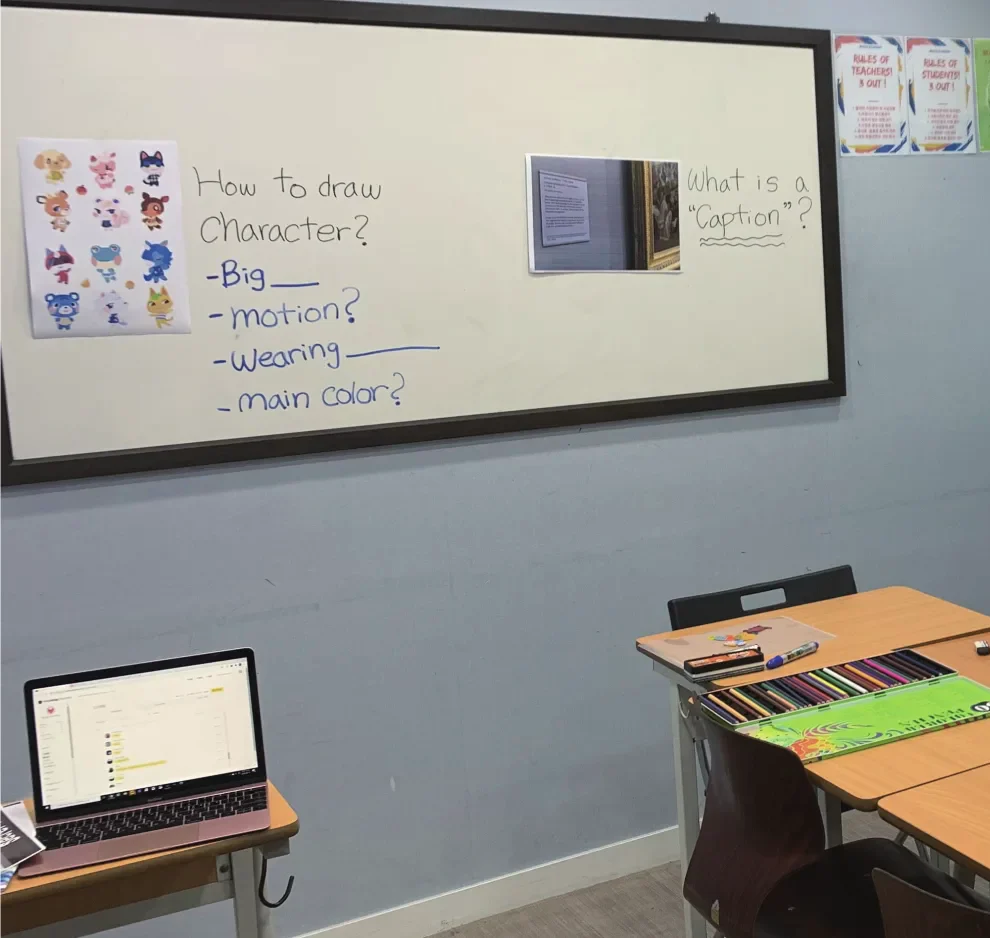
Children combined traits picked from an animal classification chart to draw new characters.
Your child explains in their own words why they picked one idea out of several.
Your child checks whether they can build it with the materials and steps in their design.
After trying it out, your child points out what was inconvenient and how to fix it before being asked.
The instructor listens for whether your child says specifically what they made and why.
Your child's reading and research notes, plans, designs, descriptions of finished work, and presentation videos can be saved.
*Hover over or tap a card to see the details and its link.
In a consultation, you'll hear which classes are open now, what's in the kit, when it arrives, and what to have ready at home.